 Skeinote
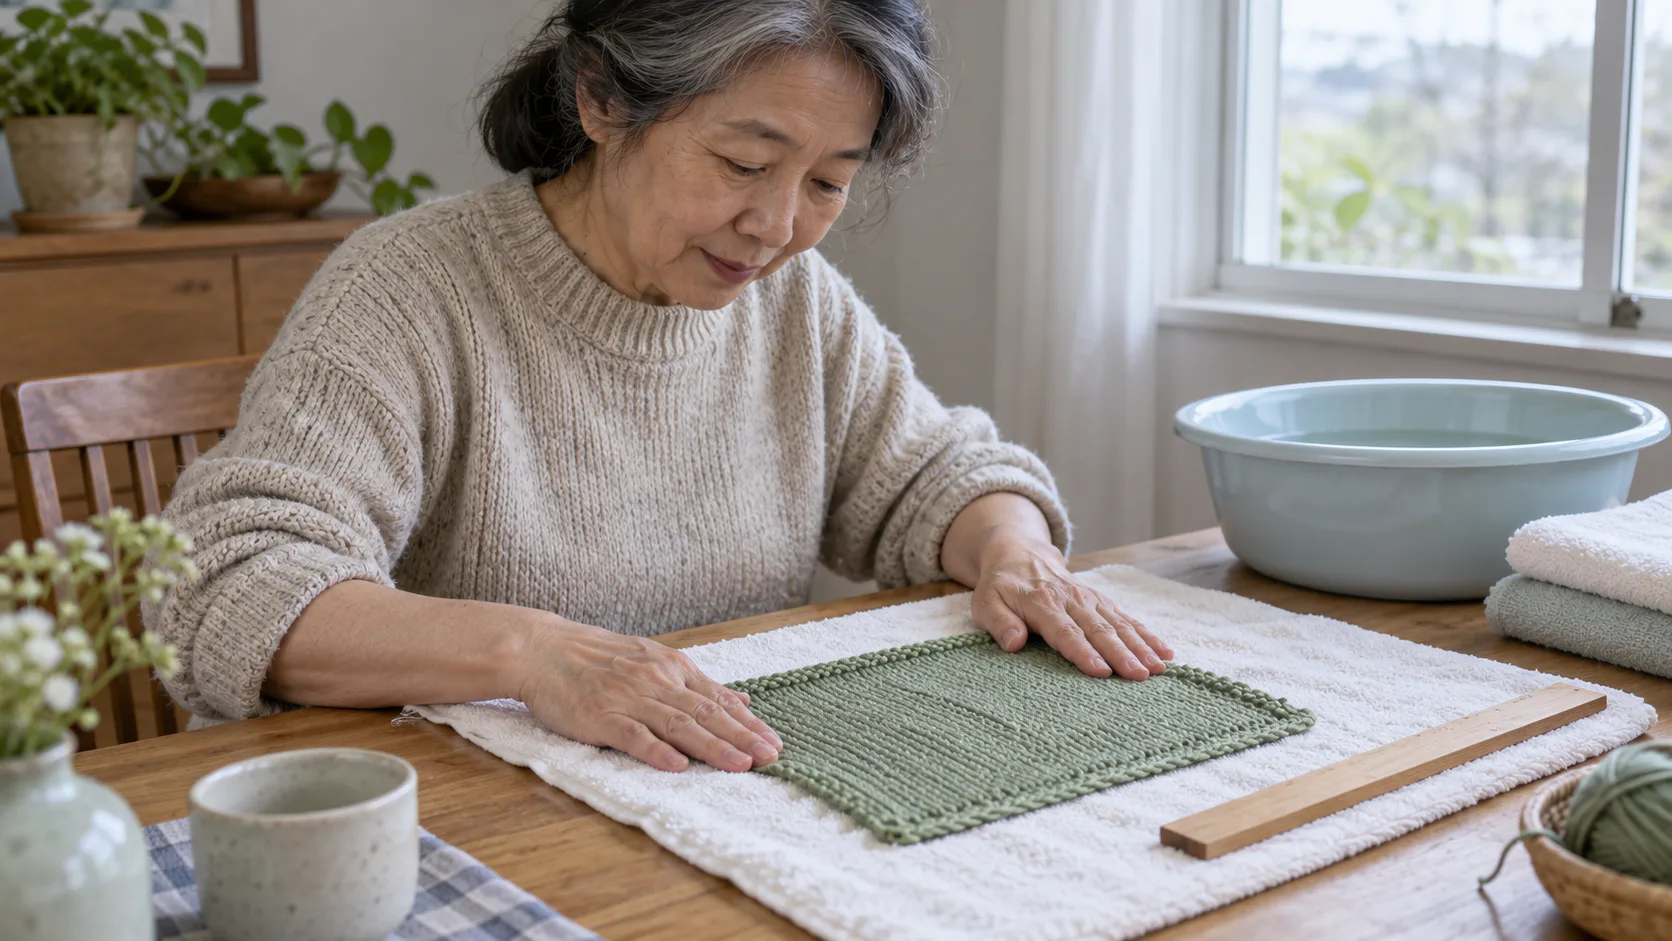
Yes. Wash and dry your gauge swatch the same way you will care for the finished piece, then measure it once it is completely dry. Lion Brand's own worked example shows why: a swatch measuring 20 stitches over 4 inches before washing and blocking measured 16 stitches over 4 inches afterwards. Measuring only the unwashed swatch would have pointed to the wrong needle.
Why the washed measurement is the one that counts
The Craft Yarn Council describes gauge as the number of stitches and rows in each inch, and says you must achieve the pattern's gauge for the project to turn out right. The question is which version of your fabric to measure.
Washing can change the fabric. Berroco encourages makers to wash swatches before committing to a big project, because the fabric may shrink, the colours may bleed, or it may grow larger than you expected. Your finished item will go through the same change at its first wash, so the washed swatch is the fabric you will actually wear or use.
What the change does to a finished piece
Here is the arithmetic on Lion Brand's example, before and after washing and blocking:
| Stitches over 4 in | Stitches per inch | Rows over 4 in | Rows per inch | |
|---|---|---|---|---|
| Before | 20 | 5 | 38 | 9.5 |
| After | 16 | 4 | 32 | 8 |
Suppose you measured only the unwashed swatch and cast on 100 stitches for a piece you expected to be 20 inches wide (100 ÷ 5). After the first wash, the same 100 stitches at 4 per inch measure:
100 stitches ÷ 4 stitches per inch = 25 inches
That is 5 inches wider than planned. Lengthwise, 152 rows planned as 16 inches (152 ÷ 9.5) would relax to:
152 rows ÷ 8 rows per inch = 19 inches
These are one swatch's figures, not a rule for every yarn. Berroco's designer describes an all-over cable swatch that changed by a full 3/4 inch after washing. Some fabrics change much less. The only way to know for your yarn and stitch is to wash the swatch.
How to wash the swatch
Follow the care your finished item will get. Lion Brand's steps are to wash and dry the swatch the way you will care for the finished piece, and to block the swatch if you plan to block the finished piece.
- Read the care instructions. The label states whether the yarn is machine washable, hand wash only, or something else. The yarn label guide shows where to find them.
- Wash it as the finished item will be washed. If the jumper will go in the machine, put the swatch in the machine. If it will be hand washed, hand wash the swatch. Berroco's designer, working with wool, uses a soak in warm water with a little gentle wool wash.
- Dry it the same way. Press out as much water as you can, pat the swatch into shape and lay it flat, unless the finished piece will be tumble dried.
- Block it only if you will block the finished piece. Pinning a swatch to size when the finished item will never be blocked gives a measurement you will not reproduce.
Wait until the swatch is completely dry before you move it or measure it. A damp swatch has not finished changing.
How to measure, before and after
Measure twice: once before washing, and once when the swatch is dry. Lion Brand suggests noting both stitch and row gauge before washing, because both are about to change. Recording both measurements tells you how the fabric moves, which is useful if you knit with the same yarn again.
For each measurement:
- Lay the swatch flat on a table or the floor, as Berroco recommends.
- Use a rigid ruler. Berroco notes that a ruler or yardstick is more accurate than a tape measure because of its straight edge.
- Measure away from the edges. Count the stitches across 4 inches in the middle of the swatch, then the rows over 4 inches. Berroco's designer finds the fabric tighter at the cast-on and looser on the needles, so neither edge is a fair sample.
- Do not measure on the needles for the final number. The same designer notes that the gauge on the needles always differs a little from the bound-off fabric.
Divide each count by 4 to get stitches and rows per inch. Measuring over 4 inches rather than 1 means a half stitch of miscounting matters a quarter as much.
Reading stitch gauge and row gauge
Compare the washed measurement with the pattern gauge.
Stitch gauge first. Lion Brand says stitch gauge is generally more important than row gauge. If you have too many stitches per inch, the swatch is too small: go up a needle or hook size. If you have too few, go down a size. Then swatch, wash and measure again.
Row gauge depends on the pattern. When the pattern gives lengths in inches, such as "work until the piece measures 15 inches", you knit to the measurement and row gauge matters less. When the pattern counts rows, Lion Brand describes two options: match the row gauge, or work out how many rows give the length the pattern intends at your gauge.
For the second option, multiply the target length by your washed row gauge. If the pattern's row count was written for 16 inches and your washed fabric gives 8 rows per inch:
16 inches × 8 rows per inch = 128 rows
Shaping instructions spread across those rows will need the same adjustment, so mark the pattern before you start.
Swatch size and yardage
A swatch big enough to measure 4 inches in the middle needs a border of extra stitches and rows on every side. Berroco's designer adds at least 2 to 3 stitches of pattern stitch to each edge. That uses yarn, so include it when you work out how much to buy. The skeins guide and the Skeinote calculator cover the package arithmetic once the gauge is settled.
If your washed swatch tells you a different yarn might suit the project better, the same-category guide explains why two yarns with one weight label can still behave differently in the wash.